
Size
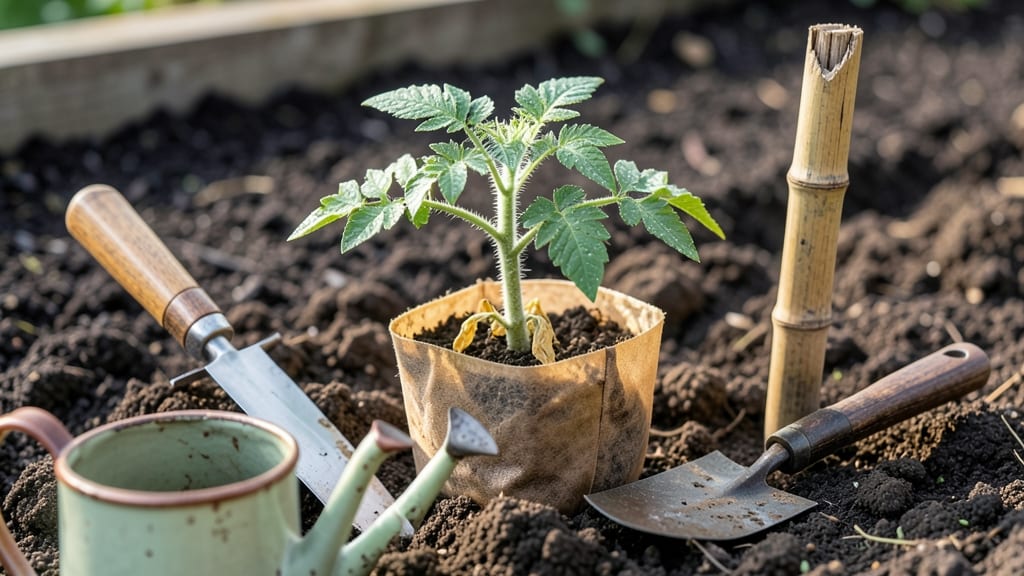
Growing a tomato plant from a grocery-store tomato is easier than you'd think—just save the seeds inside. 🌱 I've turned store-bought tomatoes into thriving plants year after year, and the secret starts with a simple fermentation step that removes the gel coating around the seeds.
The process takes about 3-5 days of patience, but it's worth it for the satisfaction of growing a plant from something you already eat. You'll need a ripe tomato, a bowl of water, and a little time to let nature do its work—no fancy equipment required.
Once the seeds are ready, they'll germinate in 5-10 days with consistent moisture and warmth. The first leaves will appear quickly, and before you know it, you'll have a strong seedling ready to transplant into soil.
This method works for heirloom tomatoes, but store-bought hybrids often won't produce true seeds. Still, it's a fun experiment that teaches you how seeds work—and might just inspire you to start saving seeds from your own garden next year.
📚 In This Guide
- What you need
- Instructions
- Tips and common mistakes
- Wrapping up and next steps
What you need
- ● 1-2 ripe, organic tomatoes (preferably heirloom or non-hybrid varieties—avoid genetically modified or treated seeds if possible).
- ● 1 small bowl or plate (for scooping out seeds).
- ● 1 paper towel or coffee filter (for drying seeds).
- ● 1 spray bottle with water (to keep seeds moist).
- ● 1 small container or seed tray (with drainage holes, ~4-6 inches deep).
- ● Seed-starting mix or well-draining potting soil (avoid garden soil—it can harbor diseases).
- ● 1 plastic bag or humidity dome (to create a mini greenhouse effect).
- ● 1 sunny windowsill or grow light (6-8 hours of light daily).
- ● Small pots or biodegradable seed pods (2-3 inches deep, for transplanting seedlings).
- ○ Fertilizer (optional but helpful)—a balanced, water-soluble fertilizer (like 10-10-10) or compost tea for young plants.
- ● A seedling heat mat (if your home is chilly, speeds up germination).
- ● pH testing kit (to ensure soil pH is between 6.0-6.8 for optimal growth).
- ● Epsom salt (a sprinkle in water can boost magnesium for healthier foliage).
- ● Plant labels or markers (to track varieties if saving multiple seeds).
- ● Pruning shears or scissors (for trimming later if your plant gets leggy).
- ● Compost or worm castings (for nutrient-rich soil when transplanting).
Step-by-Step instructions for growing tomato plants from store-bought tomatoes
Here's how to turn this year's grocery store tomatoes into next year's thriving plants.
🌱 Step 1: Select and Prepare the Tomato
Pick a ripe, organic tomato—conventional varieties often have seeds treated to prevent germination. Cut the tomato in half and scoop out the jelly-like pulp containing seeds into a small bowl. The more mature the tomato, the better your chances of viable seeds.
Add 1 cup of water to the bowl and stir well. Let the mixture sit uncovered at room temperature for 2-3 days. You'll notice a white, moldy scum forming on top—this is fermentation, which helps remove the gelatinous coating that inhibits germination. Skim off this scum daily until it disappears completely.
💧 Step 2: Clean and Dry the Seeds
After fermentation, strain the seeds through a fine mesh sieve or clean cheesecloth, rinsing them gently under cool water. Place the seeds on a paper towel and let them air-dry for 2-3 days in a warm, dark place. They're ready when they feel dry to the touch but haven't turned brittle.
Spread the seeds in a single layer on the towel—crowding them will encourage mold growth. Check daily for any signs of moisture or dampness. Properly dried seeds will keep for years in a sealed container in your refrigerator, but planting them fresh gives the best germination rates.
☀️ Step 3: Start Seeds Indoors for Strong Starts
Fill small seed-starting pots with sterile seed-starting mix and moisten it until damp but not soggy. Plant 2-3 seeds per pot at a depth of about ¼ inch. Cover lightly with additional mix and mist gently with water until the surface looks evenly moist.
Place the pots in a warm spot with a heat mat set to 75-80°F—this mimics the warmth of a greenhouse and speeds up germination. Keep the soil consistently moist but never waterlogged. You should see sprouts in 7-14 days, depending on the tomato variety.
🌿 Step 4: Thin and Transplant Seedlings
Once seedlings have 2-3 true leaves (not just the initial seed leaves), thin them to the strongest plant per pot. Use small scissors to snip the weaker seedlings at soil level rather than pulling them out—this prevents disturbing the roots of the remaining plant.
When seedlings are about 3-4 inches tall with 4-5 true leaves, transplant them into individual 4-inch pots with fresh potting mix. Harden them off by gradually exposing them to outdoor conditions over 7-10 days before planting in the garden after the last frost date.
✂️ Step 5: Care for Mature Plants and Save Seeds for Next Year
Grow your tomato plants as you normally would, providing 6-8 hours of sunlight daily and regular watering. When the tomatoes ripen, select the best ones for seed-saving—look for disease-free, fully colored fruits with good flavor.
Repeat the fermentation process with these new tomatoes to collect seeds for next year's garden. This cycle ensures you're growing heirloom varieties true to their original characteristics, rather than relying on hybrid seeds that may not produce the same fruit.
Tips & tricks for perfect tomato plant growth
Turning grocery store tomatoes into thriving plants takes patience—but these tricks will give you the best shot at success.
Fermentation is Key: The 2-3 day fermentation in Step 1 isn't just about removing scum—it's the secret to breaking down the gelatinous coating that prevents germination. I learned this the hard way after skipping it and getting almost no sprouts. Stir the mixture daily and watch for that moldy scum to disappear completely before moving on.
Seed Drying Matters: In Step 2, don't rush the drying process. Seeds that aren't completely dry can develop mold or fail to germinate. Spread them in a single layer on a paper towel and check daily—properly dried seeds feel dry to the touch but don't crumble. Store any extras in a sealed container in your fridge for up to a year.
Heat Control for Germination: The 75-80°F heat mat in Step 3 is non-negotiable for speedy germination. Without it, you might wait weeks instead of days. If you don't have a heat mat, place your pots on top of your refrigerator or near a sunny window. Just keep the soil consistently moist—not soggy—and you'll see those first sprouts in 7-14 days.
Thinning Technique: When thinning seedlings in Step 4, use small scissors instead of pulling them out. This prevents disturbing the roots of your remaining plant. I've seen beginners accidentally uproot their stronger seedlings while trying to remove weaker ones—don't make that mistake!
Pro Tips for Can You Grow A Tomato Plant From A Tomato
- Turning grocery store tomatoes into thriving plants takes patience—but these tricks will give you the best shot at su...
- Fermentation is Key: The 2-3 day fermentation in Step 1 isn't just about removing scum—it's the secret to breaking do...
- Seed Drying Matters: In Step 2, don't rush the drying process. Seeds that aren't completely dry can develop mold or f...
Frequently asked questions
about growing tomatoes from store-bought tomatoes—because even the pros had to start somewhere!Can I grow a tomato plant from any tomato I buy at the grocery store?
Not all store-bought tomatoes are seed-saving friendly! Look for heirloom or open-pollinated varieties—avoid hybrids (like many cherry or beefsteak tomatoes), as their seeds won’t grow true to the parent plant. Check the label or ask the vendor if unsure!
How long does it take for a tomato seed to sprout?
Patience is key! With the right conditions (warmth, moisture, and light), seeds typically sprout in 7–14 days. Keep the soil consistently moist but not soggy, and place the tray in a sunny spot (or under grow lights) to speed things up.
What if my tomato seeds don’t sprout?
Don’t toss them yet! Try these fixes:
- Soak seeds overnight in warm water to soften the shell.
- Check soil temperature—seeds need 70–85°F to germinate.
- Test a few seeds by cutting them open—are they firm and plump? If shriveled, they’re likely old or dead.
Can I grow tomatoes from a seedling bought at a garden center?
If you snag a young tomato plant (not just a tomato), transplant it into your garden or a larger pot. Just ensure it’s hardened off (acclimated to outdoor conditions) before planting. Pro tip: Pinch off flowers for the first few weeks to boost root growth!
Will my homegrown tomatoes taste the same as the store-bought ones?
Oh, absolutely not—and that’s the magic! Homegrown tomatoes (especially heirlooms) pack more flavor, texture, and nutrients because they’re grown in fresh soil with love (and no preservatives). Think juicier, sweeter, and way more satisfying!
Wrapping up and next steps
Growing a tomato plant from a store-bought tomato is absolutely doable—just follow the seed-saving steps we’ve shared! With a little patience and care, you’ll soon be harvesting fresh, homegrown tomatoes straight from seeds you’ve nurtured yourself. 🌱
Now that you’re ready to try, why not take the next step? Experiment with heirloom varieties, document your plant’s growth, or even share your success with fellow gardeners. Your first homegrown tomato is just a seed away!