
Planting
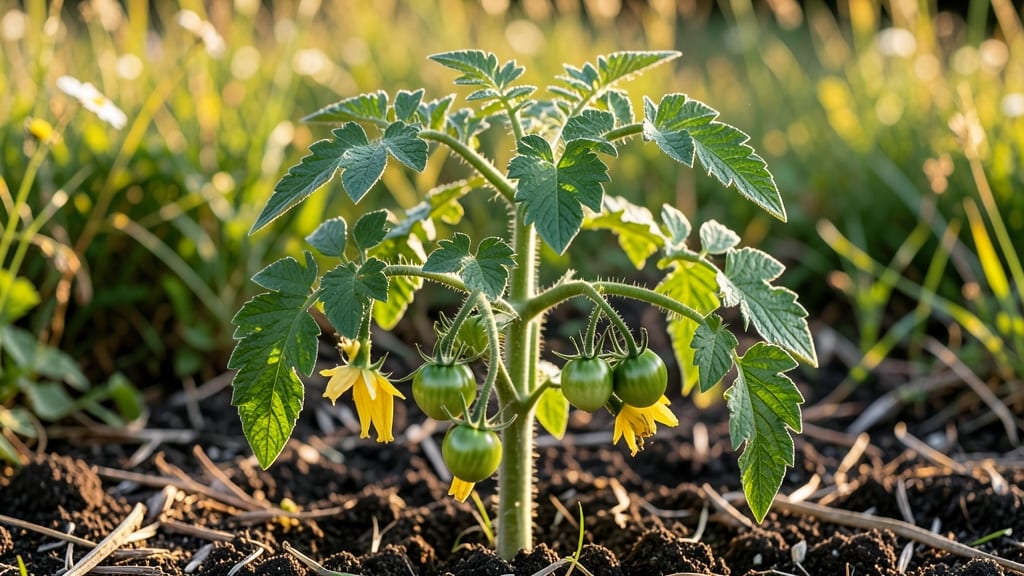
Those first cherry tomato plant sprouts popping through soil in just 5 days?
That’s the moment every gardener lives for—when tiny green hope turns a seed tray into a jungle of potential. 🌱 I’ve watched my own seedlings race from darkness to daylight in that same time, and I’ll never forget the excitement of seeing those first leaves unfurl like nature’s own unzipping gift.
The secret isn’t magic—it’s warmth, moisture, and patience working together. Most seed-starting guides overcomplicate this, but you only need three things: a heat mat (or warm windowsill), a spray bottle to keep soil damp but not soggy, and a clear plastic dome or bag to trap humidity.
Skip the fancy gadgets—this works with a shoebox and a lamp if you’re starting small. By day 5, you’ll spot true leaves (not the first two "seed leaves") and sturdy stems ready for transplanting.
That’s when the real work begins—hardening off seedlings and giving them the light they’ll need to grow into vibrant, productive plants. The payoff? Bursts of sweet, sun-ripened tomatoes by midsummer, all from those first fragile sprouts.
Here’s where most gardeners stumble: damping-off (a fungal killjoy) or leggy seedlings reaching for light. I’ll show you how to spot these issues early and fix them before they derail your harvest. Let’s get those sprouts thriving!
📚 In This Guide
- What you need
- Instructions
- Tips and common mistakes
- Wrapping up and next steps
What you need
- ● Cherry tomato seeds: 10–20 seeds (non-GMO, heirloom, or hybrid varieties like 'Sweet 100' or 'Tiny Tim' work great).
- ● Seed-starting mix: 1–2 cups of sterile, lightweight potting soil (avoid garden soil—it’s too dense!).
- ● Containers: Small seed trays (with drainage holes) or
- ● Biodegradable pots (2–3 inches deep) or
- ● Repurposed containers (yogurt cups, egg cartons, or plastic cups with drainage holes punched in the bottom).
- ● Spray bottle: 1 (for gentle watering—no heavy streams!).
- ● Plastic wrap or humidity dome: 1 sheet (to create a mini greenhouse effect).
- ● Grow lights or sunny windowsill: A warm, bright spot (60–75°F) with 12–16 hours of light daily.
- ● Heating mat: 1 (keeps soil warm for faster germination, ~75–85°F).
- ● Fertilizer: 1 tsp of balanced liquid fertilizer (5-5-5 or 10-10-10) mixed with water for post-sprout care.
- ● Label markers: To track seed varieties (trust us, you’ll forget!).
- ● Tweezers: For delicate seed handling (especially if seeds are tiny).
Step-by-Step instructions for germinating cherry tomato seeds in 5 days
Here's how I get those first green sprouts in record time—no waiting weeks.
🌱 Step 1: Soak Seeds Overnight for Faster Germination
Place 4 cherry tomato seeds in a small bowl and cover them with lukewarm water for 12 hours. The reason we soak first is that cherry tomato seeds have a tough outer coating that slows germination. A 12-hour soak softens it considerably, so you'll see sprouts in 3-5 days instead of 7-10.
Use a bowl you don't mind getting dirty—cherry tomato seeds are tiny and can slip through your fingers. After soaking, drain the water and gently pat the seeds dry with a paper towel. They should feel damp but not wet when you handle them. This step is non-negotiable for speed.
💧 Step 2: Plant in Warm, Moist Seed Starting Mix
Fill 4 small seed trays or biodegradable pots with a sterile seed-starting mix (not garden soil). Press the mix down lightly so it's firm but not compacted. You want air pockets gone but still room for roots to grow. Make a small hole—about ¼ inch deep—with your finger for each seed.
Drop one soaked seed into each hole and cover it with a thin layer of mix, just enough to hide the seed but not bury it too deep. Mist the surface lightly with water until the soil feels damp but not soggy. The goal is to keep the mix consistently moist without creating a swampy environment.
☀️ Step 3: Provide Warmth and Humidity for Speed
Place the trays on a seedling heat mat set to 75-85°F—this warmth is what accelerates germination. Cover the trays with a clear plastic dome or plastic wrap to trap humidity. Check daily but only remove the cover to mist the soil if it feels dry to the touch. You'll know it's working when condensation forms on the inside of the dome.
Keep the trays in a dark spot for the first 24 hours. Light can slow germination by signaling the seed to sprout prematurely. After that, move them to a bright spot (like under a grow light) but keep the heat mat in place. You should see tiny green sprouts poking through the soil within 3-5 days.
🌿 Step 4: Transition to Light and Air Once Sprouted
The moment you see the first true leaves (the second set after the initial seed leaves), remove the plastic dome immediately. This prevents damping-off, a fungal disease that attacks seedlings when humidity stays too high. Place the trays under a grow light or in a south-facing window where they'll get 14-16 hours of light daily.
Water gently from the bottom by placing the trays in an inch of water for 10-15 minutes. This encourages strong root growth without disturbing the delicate seedlings. You'll know you're doing it right when the soil surface looks slightly damp but not wet. Avoid watering from above—it can wash away the soil and uproot the tiny sprouts.
⏰ Step 5: Monitor and Maintain Ideal Conditions
Watch for first true leaves—these will look like small, rounded shapes with veins. Once they appear, thin the seedlings if any are crowded, leaving the strongest one per pot. Keep the soil consistently moist but never soggy. You can tell it's dry enough to water when the top inch of soil feels slightly dry to the touch.
Rotate the trays a quarter turn daily so the seedlings grow straight and don't lean toward the light. In 2-3 weeks, you'll have sturdy, healthy cherry tomato seedlings ready for transplanting. The key to keeping them fast-growing is maintaining warmth, light, and consistent moisture—no skipping steps here!
Tips & tricks for perfect cherry tomato plant sprouts
Here's how to avoid common pitfalls and get those sprouts popping up faster than you'd expect.
The Soak Secret: Don't skip the 12-hour soak—it's the difference between waiting weeks and seeing sprouts in 5 days. I like to use a small glass jar with a lid so I can shake the seeds gently every few hours. This helps prevent them from sticking together, which can slow germination. After soaking, pat them dry thoroughly; any excess moisture can lead to mold before the seeds even sprout.
Planting Precision: When making those ¼-inch deep holes in Step 2, use your pinky finger as a guide—it's about the width of your nail bed. Press the seed gently but firmly into place so it stays put when you cover it. I've found that using a pencil to poke the holes makes them too deep, which can delay sprouting. The goal is to hide the seed just enough to protect it while still allowing light to reach it once it's ready.
Heat Mat Hack: If you don't have a seedling heat mat, place your trays on top of your fridge during the day—most fridges maintain around 75-85°F on their top surface. Just make sure the fridge isn't running while you're using it this way. The key is maintaining that warm temperature consistently. I've also seen people use a heating pad set to low under a towel, but be careful not to overheat—you want warmth, not steam.
Light Transition Timing: The 24-hour dark period in Step 3 is crucial for preventing premature sprouting. After that, move your trays to the brightest spot you have—even a sunny windowsill works. I've noticed that fluorescent lights alone won't cut it; you'll need that 14-16 hours of light daily. If you're using a grow light, position it just 2-3 inches above the seedlings—they grow toward light, so too much distance means they'll stretch and get leggy.
Pro Tips for Cherry Tomato Plant Sprouts
- Here's how to avoid common pitfalls and get those sprouts popping up faster than you'd expect.
- The Soak Secret: Don't skip the 12-hour soak—it's the difference between waiting weeks and seeing sprouts in 5 days. ...
- Planting Precision: When making those ¼-inch deep holes in Step 2, use your pinky finger as a guide—it's about the wi...
Frequently asked questions
Got questions about growing cherry tomato sprouts? You’re not alone! Here are answers to the most common queries—from speedy germination to troubleshooting tiny troubles.
How can I speed up cherry tomato sprout germination in just 5 days?
Soak seeds in warm water for 6–8 hours before planting, then use a seedling heat mat (70–85°F) to boost growth. Keep soil consistently moist (not soggy!) and place containers in bright, indirect light. With these tricks, you’ll see sprouts in days instead of weeks!
What’s the best temperature for cherry tomato seeds to sprout?
Ideal germination temps range between 70–85°F (21–29°C). If your home is cooler, use a heat mat or place seeds near a sunny window. Avoid extremes—below 60°F (15°C) slows sprouting, while above 90°F (32°C) can kill them. Pro tip: A clear plastic dome or bag creates a mini greenhouse effect!
Can I grow cherry tomatoes from store-bought seeds?
Rinse seeds from store-bought tomatoes, dry them thoroughly, and plant them like heirloom seeds. Just note: Hybrid varieties (like most grocery-store tomatoes) may not produce identical fruit, but they’ll still sprout and thrive. Save seeds from heirloom tomatoes for true-to-type results.
Why aren’t my cherry tomato seeds sprouting after a week?
Check these fixes:
- Moisture: Soil should feel like a damp sponge—not dry or waterlogged.
- Depth: Plant seeds ¼ inch deep; deeper burials suffocate them.
- Light: Seeds need warmth first, light after sprouting. Cover with a dark cloth until they break soil.
- Vigor: Old seeds (over 2 years) may fail—test a few in a separate container.
What’s the fastest way to grow cherry tomatoes for early harvests?
Start seeds indoors 6–8 weeks before your last frost date, then transplant seedlings outdoors after soil warms to 60°F (15°C). Use black plastic mulch to warm soil faster and deter weeds. For a head start, try container growing—cherry tomatoes thrive in pots with full sun (6+ hours/day) and balanced fertilizer.
Wrapping up and next steps
Watching those tiny cherry tomato plant sprouts emerge in just five days is incredibly rewarding—proof that patience and the right techniques pay off! 🌱 Whether you're a seasoned gardener or a beginner, your effort will soon be rewarded with vibrant, flavorful tomatoes.
Now that you’ve mastered the art of fast germination, why not take the next step?
🌿 Next Steps to Grow Bigger & Better
- Transplant your sprouts into larger pots or your garden once they’ve developed 2-3 true leaves.
- Keep an eye on soil moisture and sunlight—your plants are ready for bigger adventures!
- Experiment with pruning and support structures (like cages or stakes) to encourage bushier growth.
You’ve got this—happy growing! 🍅✨