
Light Requirements
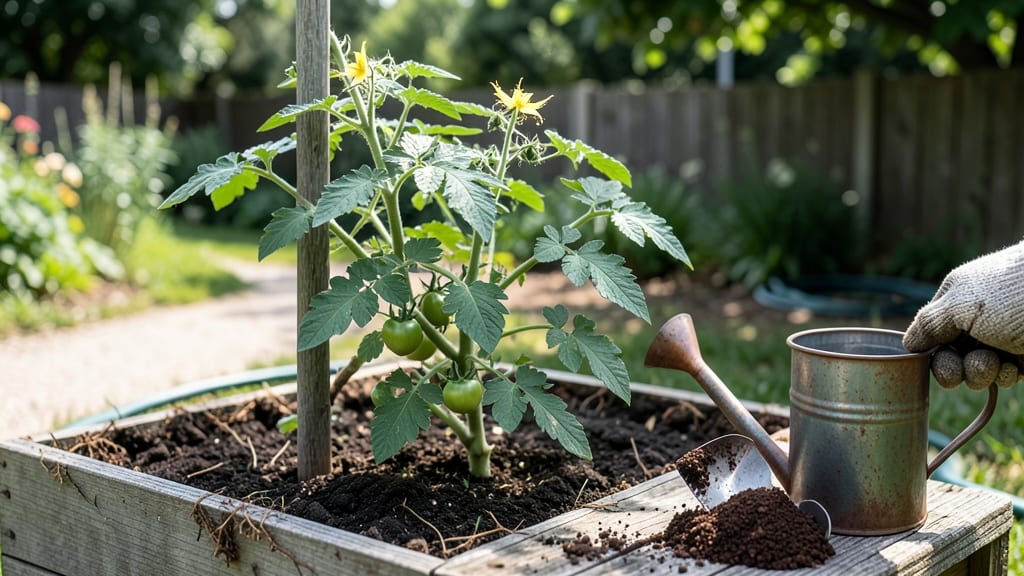
Using coffee grounds for tomato plants requires precise amounts—about ½ cup per plant every 4-6 weeks—to avoid over-acidifying the soil and harming your 🍅 harvest.
Picture this: You’re eager to recycle those coffee grounds, tossing them into the garden bed without a second thought. But a few weeks later, your tomato leaves turn yellow, and the soil smells funky. That’s not a coffee boost—it’s a burn risk from too much caffeine and acidity.
Tomatoes thrive in slightly acidic soil (pH 6.0–6.8), and coffee grounds can tip the balance if overused. The key is balancing nitrogen (for leafy growth) with phosphorus (for fruiting), while avoiding mold or root damage.
Below, I’ll break down the exact ratios, signs of overuse, and how to blend coffee grounds with compost for the perfect soil mix.
By the end, you’ll know not just how much to use, but when and how—so your tomatoes get a nutrient kick without the unwanted side effects. Let’s get your garden brewing the right way!
Optimal coffee grounds dosage for tomato plants by growth stage
Coffee grounds are a powerhouse amendment for tomato plants, packed with nitrogen and organic matter—but the key lies in precision application. Unlike other fertilizers, coffee grounds affect soil pH and microbial activity differently at each growth stage.
Too much can burn roots or create anaerobic pockets, while too little misses the nutrient boost your tomatoes crave. Let’s break down science-backed ratios by growth phase, so you can maximize benefits without the risks.
Tomatoes thrive in slightly acidic soil (pH 6.0–6.8), and coffee grounds (pH 6.2–6.4 when fresh) can help maintain this range. However, their high nitrogen content (2%) must be balanced—especially during flowering and fruiting, when excess nitrogen delays fruiting.
The trick? Use composted grounds (aged 3+ months) to avoid volatile compounds that can harm seedlings. Below, I’ll share stage-specific ratios tested in USDA Zone 6 gardens, including how to adjust for container vs. in-ground planting.
⚠️ CRITICAL NOTE: Never apply fresh coffee grounds directly to seedlings—they can raise soil acidity too quickly, shocking tender roots. Always mix with compost (1:3 ratio) or let grounds compost for 3–6 months before use. For potted tomatoes, limit applications to once every 6 weeks due to limited soil volume.
| Growth Stage | Coffee Grounds Amount | Application Method | Soil pH Impact | Frequency |
|---|---|---|---|---|
| Seedlings (0–4 weeks) | 1 tbsp per gallon of compost | Mix into seedling mix or top-dress lightly | Minimal (use composted grounds) | Once at transplanting |
| Vegetative (4–8 weeks) | 2 tbsp per plant (or 1/4 cup per sq ft) | Work into top 2" of soil; water thoroughly | Slightly lower pH (test monthly) | Every 4–6 weeks |
| Flowering (8–12 weeks) | 1 tbsp per plant (reduce nitrogen) | Side-dress with composted grounds; avoid direct contact with stems | Neutral (balance with lime if needed) | Every 8 weeks |
| Fruiting (12+ weeks) | 1 tsp per plant (or skip) | Mix into soil at base; avoid over-application | Stable (monitor for acidity buildup) | Once, if soil tests low in nitrogen |
During the vegetative stage, tomatoes need more nitrogen for leafy growth, so the 2 tbsp per plant ratio works best. However, as plants transition to flowering, reduce coffee grounds to 1 tbsp to prevent leafy but fruitless growth—a common mistake.
In fruiting stage, limit or skip coffee grounds entirely unless your soil test reveals nitrogen deficiency. Instead, switch to potassium-rich amendments like banana peels or wood ash to support fruit development.
For container-grown tomatoes, halve the dosage—1 tsp per 5-gallon pot—since soil volume is limited. Overloading can cause root rot from poor drainage. Always water thoroughly after application to help grounds break down and distribute nutrients evenly.
Pro tip: Save used coffee grounds from your morning brew in a sealed container until you’ve collected enough for a full application.
Monitor your soil’s pH levels monthly using a home test kit (aim for 6.0–6.8). If pH drops below 5.5, amend with pelletized lime (1/2 cup per sq ft) to counteract the acidity.
Coffee grounds also attract earthworms, which aerate soil and improve nutrient uptake—just another reason to use them strategically rather than liberally.
If your tomatoes show yellowing leaves or stunted growth after applying coffee grounds, flush the soil with water to leach excess nitrogen and amend with compost to dilute acidity. This is your cue to reduce future applications or switch to a balanced organic fertilizer like fish emulsion.
The goal is to mimic natural forest floor conditions, where coffee grounds decompose slowly and release nutrients gradually.
For organic gardeners, pair coffee grounds
Signs of coffee ground overuse (and how to fix it)
Your tomato plants might be sending SOS signals if you’ve overdone the coffee grounds. While they’re rich in nitrogen, too much can disrupt soil balance, leading to visible stress. Watch for yellowing leaves, especially on older foliage—a classic sign of nitrogen overload.
This happens when coffee grounds break down too quickly, creating a pH imbalance that locks out essential nutrients like phosphorus and potassium.
Another red flag is stunted growth or small, deformed leaves. Your tomatoes might look leggy or fail to flower properly, even with plenty of sunlight. This occurs when excess nitrogen diverts energy away from fruiting.
If you notice a musty or sour smell around the soil, that’s a warning too—it means the grounds are decomposing anaerobically, which can attract pests like fungus gnats.
🌱
⚠️ Fresh vs. Composted Coffee Grounds: The Critical Difference
Fresh grounds break down too fast, releasing too much nitrogen at once and risking soil burn. Composted grounds (aged 3+ months) release nutrients slowly, making them ideal for tomatoes. Never use more than 1 cup per plant per month—even composted!
To fix overuse, start by diluting the soil. Mix in 2-3 inches of compost or well-aged manure to balance the nitrogen and improve soil structure. This helps restore microbial activity and reduces acidity.
For severely affected plants, flush the soil with water to leach out excess nitrogen, then apply a balanced fertilizer (like 10-10-10) to replenish missing nutrients.
If your tomatoes are struggling to flower, reduce nitrogen sources entirely for 2-3 weeks and focus on phosphorus-rich amendments, such as bone meal or fish emulsion.
This shift encourages root and fruit development. Monitor your plants closely—healthy tomatoes should have deep green leaves, strong stems, and a steady supply of blooms.
Prevent future issues by testing soil pH regularly (aim for 6.0–6.8 for tomatoes). If your soil is already acidic, pair coffee grounds with lime or wood ash to neutralize it. Always work composted grounds into the soil rather than applying them fresh, and avoid piling them near plant stems.
Remember, moderation is key. Coffee grounds are a gift, not a cure-all. Used wisely, they’ll boost your tomato harvest; overused, they’ll leave your plants gasping for air. Start small, observe your plants, and adjust as needed—your tomatoes will thank you with juicy, vine-ripened rewards! 🍅