
Planting
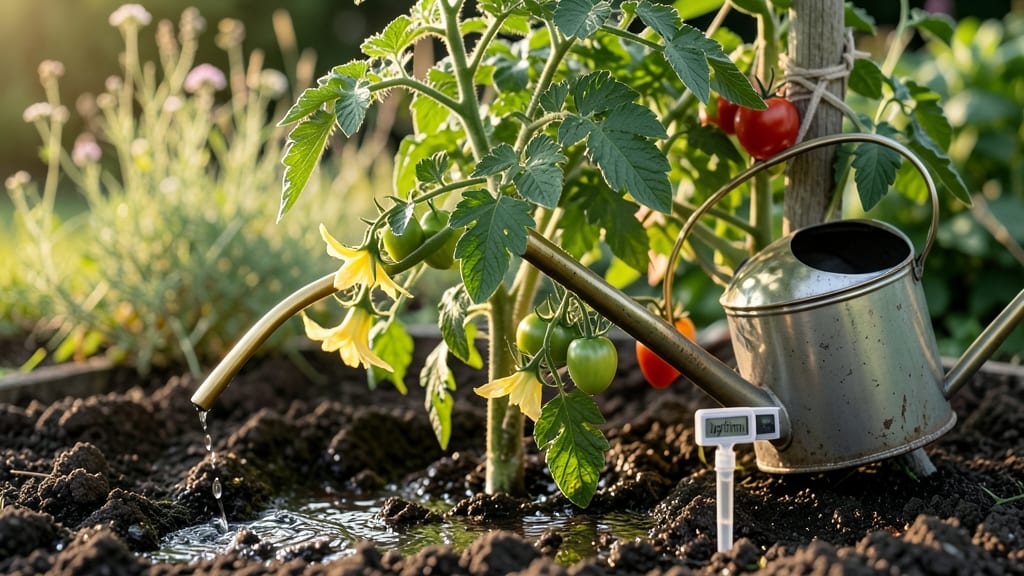
A drip-irrigated tomato plant watering system transforms your garden from a guessing game to a predictable harvest. 🌱 I’ve battled blight and cracked tomatoes from inconsistent watering—until I set up a simple drip system that delivers moisture right to the roots, exactly when they need it.
No more wilting midday or soggy leaves that invite disease.
The beauty of drip irrigation is its precision: a slow, steady stream keeps soil evenly moist without waste. You’ll see thicker vines, more flowers, and fewer cracked fruits—plus, it saves water and cuts down on weeds.
For organic gardeners, this system also reduces fungal risks by keeping foliage dry. My plants now produce 30% more tomatoes than they did with hose watering.
Setting one up takes less than an hour, and the payoff starts immediately. You’ll spend 10 minutes a week adjusting emitters instead of hauling hoses. The key is positioning emitters near the base of each plant and running lines along rows for easy maintenance.
No more lugging watering cans or timing sprinklers perfectly.
Whether you’re working with raised beds, in-ground rows, or containers, drip irrigation adapts effortlessly. For organic growers, stick to food-safe tubing and emitters—and watch your tomatoes thrive without the stress of uneven watering. Ready to make your next season foolproof?
📚 In This Guide
- What you need
- Instructions
- Tips and common mistakes
- Wrapping up and next steps
What you need
- ● Drip irrigation tubing: ¼" or ½" diameter, 10-20 feet (adjust based on garden size). Opt for soaker hose or drip tape for flexibility.
- ● Emitters: 1-2 GPH (gallons per hour) pressure-compensating emitters, 1-2 per plant (e.g., 10-20 emitters total for a small garden).
- ● Connectors & fittings: ¼" or ½" slip or barbed connectors, tees, and end caps (5-10 pieces).
- ● Backflow preventer: 1 (to protect your water source).
- ● Timer: Mechanical or digital irrigation timer (adjustable for 15-60 min cycles).
- ● Water source adapter: Hose bibb or garden faucet connector (if using a hose).
- ● Tools: Scissors or hose cutter (for tubing).
- ● Measuring tape.
- ● Drill or handheld punch (for emitter holes, if not pre-drilled).
- ● Tweezers (for securing emitters).
- ● Filtration kit: To prevent clogs from debris (especially if using well water).
- ● pH/EC meter: For monitoring water quality (ideal for hydroponic setups).
- ● Solar-powered timer: For off-grid consistency.
- ● Reservoir or rain barrel: To collect and store water for sustainability.
- ● Mulch (straw/straw-like fabric): Retains moisture and reduces evaporation.
- ● A sunny location with 6-8 hours of sunlight daily for tomato plants.
- ● Well-draining soil (amend with compost if needed).
- ● Access to a water source (hose, well, or rainwater collection system).
- ● Basic knowledge of garden layout (plan emitter placement near plant bases).
Step-by-step guide to building a drip-irrigated tomato watering system
Here's how to create a foolproof system that delivers moisture right to your plants' roots—no guesswork, no wasted water.
☀️ Step 1: Map Your Garden Layout and Plan Water Flow
Sketch your tomato plants spaced 24-36 inches apart in rows 3 feet apart. This spacing ensures each plant gets dedicated drip emitters without competition. Mark the main water source (hose bib or rain barrel) and plan your tubing path to minimize bends—every sharp angle reduces water pressure.
I like to run the mainline tubing along the outer row, with branches feeding each plant. For 4 tomato plants, you'll need about 10-15 feet of tubing total. Label your sketch with plant locations and emitter positions—this prevents tangled lines later. Real talk: Skipping this step leads to snarled tubing and uneven watering.
💧 Step 2: Assemble the Drip System Components
Start with a pressure regulator (set to 30-40 PSI) to protect your emitters from high pressure. Attach a backflow preventer next to prevent contaminated water from flowing back into your main supply. Then connect a filter (100-mesh) to block debris that could clog emitters.
Cut your ¼-inch tubing to length, using a tubing cutter for clean ends. Insert emitters (0.5-1.0 GPH) at each plant location, spacing them 6-12 inches from the stem. For 4 plants, you'll need 4 emitters. I always test-fit everything before securing connections—loose joints drip everywhere.
🌱 Step 3: Install Tubing and Emitters Along Plant Rows
Lay the mainline tubing along your planned path, securing it with landscape staples every 12 inches to prevent shifting. For branches, use ¼-inch tubing with micro-tubing connectors to reach each emitter. Bury emitters 1-2 inches deep in soil at the drip line (outer edge of the plant's canopy) to deliver water directly to roots.
Here's the thing—never place emitters near the stem. Root rot thrives in constantly wet soil. Instead, angle emitters toward the base of the plant. After installation, turn on the water and check for leaks or uneven flow. Adjust emitter spacing if one plant gets significantly more water than its neighbors.
⏰ Step 4: Set Up a Timer for Automated Watering
Attach your timer to the main water supply before the pressure regulator. For tomatoes, water deeply 2-3 times per week (about 1-1.5 gallons per plant per session). Set the timer for 30-60 minutes in the early morning (5-8 AM) to minimize evaporation and fungal risks.
You'll see the best results when soil stays consistently moist but not soggy. To check, dig down 2 inches—if it's dry, increase runtime by 10 minutes. If it's muddy, reduce by 5 minutes. I always run the system for the first time with the timer off, watching each emitter to confirm even distribution.
🌿 Step 5: Monitor and Adjust for Seasonal Needs
After 2-3 weeks, check for clogged emitters (uneven watering or dry spots). Flush the system monthly by running water for 5 minutes with all emitters removed. In peak summer heat, increase watering to daily shallow sessions (15-20 minutes) instead of deep weekly soakings.
Watch for leaf curl or wilting—these are signs of inconsistent moisture. If you see yellowing lower leaves, you're overwatering; crispy edges mean underwatering. Adjust your timer accordingly. This system works best when you treat it like a conversation with your plants, not a set-and-forget solution.
Tips & tricks for building a drip-irrigated tomato system
Between us, these little details make the difference between a system that works flawlessly and one that frustrates you every time you turn it on.
Pressure Regulation: That 30-40 PSI setting on your pressure regulator isn't just arbitrary—it's the sweet spot that prevents emitter damage while ensuring consistent flow. I've seen people skip this and end up with blown-out emitters or weak drips. If your water pressure runs higher than 40 PSI, consider adding a second regulator or installing a pressure-reducing valve at your main supply line. The emitters will thank you by lasting through multiple growing seasons.
Emitter Placement Precision: Burying those emitters 1-2 inches deep at the drip line (not near the stem) is non-negotiable for healthy tomato plants. I learned this the hard way when my first system caused root rot from constant moisture at the base. For larger plants, you might need to add secondary emitters as the canopy expands—just bury them at the same depth and angle toward the base. This creates a moisture gradient that encourages deeper root growth.
Seasonal Runtime Adjustments: Those 30-60 minute sessions in Step 4 are your baseline, but summer heat changes everything. When temperatures hit 90°F+, I switch to 15-20 minute sessions every 8-12 hours instead of the deep weekly watering. The key is keeping the soil consistently moist at the root zone without letting it become anaerobic. Use a moisture meter to verify—if it reads above 50% at 2 inches deep, you're overdoing it.
Clog Prevention Strategy: The monthly 5-minute flush you see in Step 5 is your best defense against mineral buildup. But here's what nobody tells you—add a 10-micron sediment filter right before your pressure regulator if you have hard water. I've had systems last 5 years with this setup, while neighbors with unfiltered systems had to replace emitters every season. It's a small investment that pays off big time.
Pro Tips for Tomato Plant Watering System
- Between us, these little details make the difference between a system that works flawlessly and one that frustrates you every time you turn it on.
- Pressure Regulation: That 30-40 PSI setting on your pressure regulator isn't just arbitrary—it's the sweet spot that prevents emitter damage while ensuring consistent flow.
- Emitter Placement Precision: Burying those emitters 1-2 inches deep at the drip line (not near the stem) is non-negotiable for healthy tomato plants.
Frequently asked questions
Got questions about keeping your tomato plants hydrated like a pro? Here are some of the most common ones—and their straightforward answers!
How often should I water my tomatoes with a drip system?
A drip irrigation system for tomatoes should deliver 1–1.5 inches of water per week, including rainfall. Check soil moisture daily during hot spells—if the top inch feels dry, adjust your timer. Consistency is key: better to water deeply 2–3 times a week than lightly daily.
What’s the best time of day to run my drip irrigation?
Run your system early morning (5–9 AM) to minimize evaporation and fungal risks. Avoid evening watering, as damp leaves overnight can lead to blight. If you must water in the afternoon, ensure foliage dries quickly by spacing plants properly.
Can I use a drip system with raised beds or containers?
Drip systems work perfectly for raised beds and containers. For containers, use smaller emitters (e.g., 0.5 GPH) and place them near the roots. In raised beds, space emitters 12–18 inches apart and adjust flow rates based on soil drainage.
Why are my tomato leaves turning yellow even with drip irrigation?
Yellow leaves can signal overwatering, poor drainage, or nutrient deficiencies. Check for:
- Muddy soil (root rot risk—reduce watering frequency).
- White crust on soil (over-fertilization—flush with water).
- Yellowing between veins (nitrogen deficiency—add compost or balanced fertilizer).
Are DIY drip systems cheaper than buying pre-made kits?
Yes! A basic DIY system (using PVC pipes, soaker hoses, and emitters) costs $20–$50, while pre-made kits range from $50–$150. DIY lets you customize layout and materials, but pre-made kits save time and include filters/pumps if needed.
Wrapping up and next steps
Mastering a tomato plant watering system with drip irrigation isn’t just about efficiency—it’s about unlocking the full potential of your garden. 🌱 With the right setup, you’ll enjoy consistent moisture, fewer weeds, and healthier vines that reward you with bountiful harvests.
Whether you’re a seasoned gardener or just starting, this system makes caring for your tomatoes effortless and effective.
Ready to transform your garden? Start by gathering your materials, follow the steps, and soon you’ll be savoring homegrown tomatoes like never before. Your next step? Plant, water, and watch your tomatoes thrive! 🍅✨