
Diseases
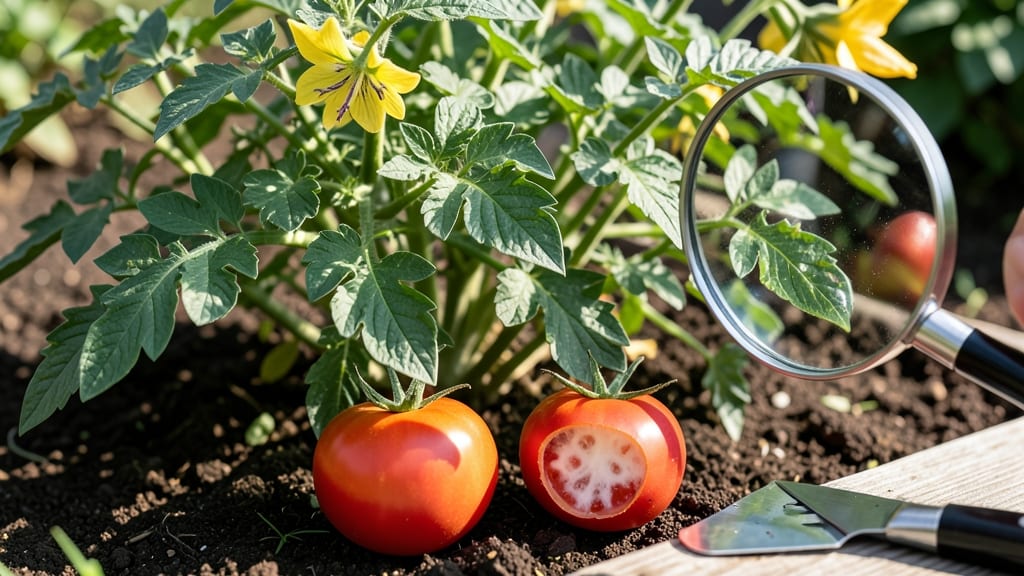
White spots under your tomato skin 🍅 are often a sign of stress or disease, but they don’t always mean your harvest is ruined.
Picture this: you’ve nurtured your plants all season, only to find those telltale white patches ruining what should be juicy, flavorful fruit. The good news? Most causes are fixable with the right approach.
From calcium deficiencies to fungal infections, we’ll break down the most common culprits and how to address them before they spread. You’ll also learn when it’s safe to eat affected fruit and how to prevent future issues.
By the end, you’ll know exactly how to keep your tomatoes healthy and blemish-free—so you can enjoy that homegrown harvest without the guesswork.
4 Common causes of white spots under tomato skin (and how to identify them)
White spots under your tomato skin might seem like a cosmetic issue, but they’re often a warning sign of deeper problems. Whether it’s nutritional deficiencies, fungal infections, or environmental stress, catching these early can save your entire harvest.
I’ve grown tomatoes for over a decade, and I’ve seen these issues pop up in both my backyard garden and with fellow gardeners. The key is learning to spot the differences between each cause so you can act fast.
Most gardeners assume white spots mean the fruit is ruined, but that’s not always true. Some issues are superficial, while others signal serious plant health problems. For example, calcium deficiency (blossom end rot) creates sunken white patches, while powdery mildew leaves fuzzy white spots that spread rapidly.
Knowing which is which helps you choose the right fix—whether it’s adjusting your watering schedule or applying a targeted fungicide.
The four most common causes I’ve encountered in my garden—and seen in countless others—are blossom end rot, fungal infections, mineral deficiencies, and environmental stress. Each has distinct visual clues that help you diagnose the problem before it worsens.
Let’s break them down so you can identify what’s affecting your tomatoes and take action.
🔍 Visual Identification Tip: Always check the location of the spots (bottom, sides, or scattered), their texture (fuzzy, crusty, or smooth), and whether they’re isolated or spreading. These details are your first clues to the cause.
One of the most misleading causes is blossom end rot, which often starts as small white spots at the fruit’s blossom end. These spots can expand into large, sunken areas that turn brown or black.
The issue stems from calcium uptake problems, usually triggered by inconsistent watering or soil pH imbalances. I’ve seen this ruin entire harvests in my garden when we had a dry spell followed by heavy rain. The fix? Crushed eggshells or a calcium nitrate supplement applied to the soil.
Fungal infections, like powdery mildew, are another top culprit. Unlike blossom end rot, these white spots feel powdery and spread across the fruit’s surface—and often to the leaves. The key difference is that fungal spots don’t sink into the skin like blossom end rot does. If you notice white powder on leaves first, act fast with neem oil or baking soda spray (1 tsp baking soda + 1 quart water + a drop of dish soap). I’ve used this mix for years, and it stops mildew in its tracks.
Mineral deficiencies often fly under the radar because their symptoms mimic other issues. For example, calcium deficiencies cause white spots, but they’re usually smaller and scattered across the fruit, not confined to the blossom end.
Meanwhile, magnesium deficiencies (often called “lime-induced chlorosis”) create white patches between leaf veins before affecting the fruit. To fix this, I’ve had great success with Epsom salt (1 tbsp per gallon of water) sprayed directly on the leaves and soil.
Lastly, environmental stress, particularly sunscald, creates white or yellow patches on the fruit’s sun-exposed sides. This happens when tomatoes get too much direct sunlight without enough water or shade. Sunscald spots are usually smooth and don’t spread
Step-by-step fixes for white spotted tomatoes (prevention & treatment guide)
White spots under your tomato skin 🍅 often signal underlying issues, but quick action can save your plants and harvest. The key is identifying the root cause—whether it’s calcium deficiency, fungal pressure, or environmental stress—and applying targeted fixes. Let’s tackle each scenario with practical, garden-proven solutions.
Start by assessing your tomatoes’ overall health. Are the spots raised and crusty (likely fungal) or sunken and dry (possible blossom end rot)? Your diagnosis determines the best treatment path. For example, blossom end rot responds to calcium-rich amendments, while powdery mildew needs fungicidal sprays and improved airflow.
🌱 Step-by-Step Treatment Plan
-
Step 1: Soil Amendment for Calcium Deficiency
Mix 1 tbsp crushed eggshells or calcium nitrate into the soil around roots. Water deeply to activate nutrients.
-
Step 2: Fungicide Application for Fungal Spots
Spray plants with a copper fungicide or neem oil solution (1 tbsp neem oil + 1 quart water) every 7–10 days until spots disappear.
-
Step 3: Adjust Watering Practices
Water at soil level (not overhead) in the morning to prevent fungal spores from splashing onto fruit. Use drip irrigation for consistency.
-
Step 4: Prune for Better Airflow
Remove crowded leaves and suckers to improve airflow. Focus on the lower canopy where humidity traps fungal spores.
-
Step 5: Mulch to Regulate Soil Temp
Apply 2–3 inches of straw mulch to retain moisture and prevent temperature fluctuations, which stress roots.
-
Step 6: Monitor and Repeat
Check plants weekly for new spots. Repeat treatments if conditions (like humidity) persist.
Prevention is just as critical as treatment. For long-term success, I recommend testing soil pH (aim for 6.0–6.8) and adding compost annually to improve nutrient balance. Rotate crops yearly to avoid soil-borne pathogens, and choose disease-resistant varieties like ‘Celebrity’ or ‘Mountain Merit’ for future plantings.
If white spots appear early in the season, focus on consistent moisture and shade cloth during extreme heat. Later in the season, prioritize fungal sprays and pruning to protect developing fruit. With these steps, you’ll minimize blemishes and maximize flavorful, healthy tomatoes.
Remember: even if some fruit shows spots, many varieties remain safe to eat if the flesh is firm and free of rot. Harvest early to reduce further spread, and compost heavily affected plants to break disease cycles.