
How To
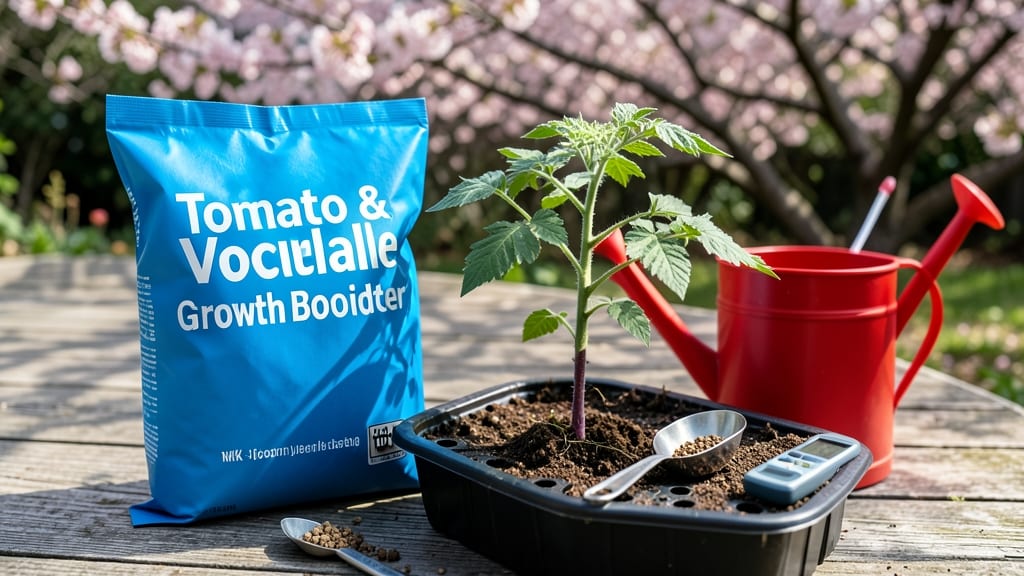
Starting fertilizing tomato seedlings at two weeks old is the game-changer for healthy roots and bigger harvests 🍅—but timing it wrong can leave your plants struggling or even burned.
Picture this: you’ve nurtured your seedlings for weeks, only to rush and fertilize too soon. Suddenly, the leaves yellow, the roots recoil, and your hard work stalls.
That’s why the 2-week rule exists—not as a hard rule, but as a science-backed cue that your little sprouts are finally ready for nutrients.
In this guide, you’ll learn how to spot the signs your seedlings are ready (true leaves, sturdy stems), which fertilizers to use, and how to avoid the three biggest mistakes that kill seedlings before they even reach the garden.
We’ll cover everything from soil prep to organic vs. synthetic options, so you can feed your tomatoes the right way—starting with that critical two-week mark.
The 2-Week rule: when to start fertilizing tomato seedlings
Timing your tomato seedling fertilization is one of the most critical decisions you’ll make for a thriving harvest. Starting too early can burn delicate roots, while waiting too long stunts growth. The 2-week rule—fertilizing 14 days after germination—strikes the perfect balance between nurturing and overwhelming your seedlings.
This window ensures your young plants have developed enough root mass and true leaves to handle nutrients without stress.
When I first started growing tomatoes, I made the rookie mistake of fertilizing too soon—my seedlings wilted within days. Root systems need time to establish before they can absorb and process nutrients efficiently. The first 2 weeks are all about building a strong foundation, not feeding.
Think of it like giving your seedlings a solid nutrient-free head start to avoid burnt roots or leaf scorch, which can derail their growth entirely.
Here’s the science behind the 2-week rule: Seedlings rely on the energy stored in their cotyledons (the first leaves) until true leaves appear. These true leaves signal that the plant is photosynthesizing independently and ready to process nitrogen and other nutrients.
Waiting until 14 days post-germination ensures your seedlings have developed a taproot system capable of handling fertilizer without shock.
You’ll know your seedlings are ready for their first feeding when they’ve grown 2-3 true leaves (not the initial seed leaves) and have a healthy green color. At this stage, their roots should also be 1-2 inches long, visible if you gently remove them from their container.
If your seedlings are leggy or pale, they may need more light before fertilizer—light deprivation often mimics nutrient deficiency.
If you’re growing seedlings indoors under grow lights, the 2-week rule still applies, but you may need to adjust timing slightly. Indoor seedlings often grow faster due to consistent light, so monitor their progress closely.
Look for dark green true leaves and visible roots at the bottom of the container—these are your cues to fertilize. Pro tip: Use a clear plastic container to check root development without disturbing the plant.
One of the biggest mistakes I see is using full-strength fertilizer on young seedlings. Even at 2 weeks, you should dilute your fertilizer to half-strength (e.g., mix ½ tsp of 10-10-10 per gallon of water).
Overfeeding at this stage can cause salt buildup in the soil, leading to crispy leaf edges or stunted growth. Always water your seedlings thoroughly before and after fertilizing to help flush out excess salts and ensure even nutrient distribution.
Environmental factors like temperature and humidity can also influence when to fertilize. If your seedlings are in a cool environment (below 60°F), they’ll metabolize nutrients more slowly and may need to wait until 3 weeks post-germination.
Conversely, in warm conditions (above 75°F), seedlings can handle fertilizer sooner—around 10-12 days. Always prioritize leaf health over strict timing; if your seedlings look stressed, delay fertilization and focus on light and water instead.
After the initial 2-week feeding, you’ll want to fertilize your tomato seedlings every 2-3 weeks with a balanced fertilizer (e.g., 10-10-10) until they flower. Once flowers appear, switch to a phosphorus-heavy fertilizer (e.g., 10-30-20) to encourage fruit development.
But remember, the 2-week rule sets the foundation—rushing this step can lead to weak plants that struggle to support heavy tomato vines later in the season.
Best fertilizers for tomato seedlings: organic vs synthetic options
Once your tomato seedlings hit the 2-week mark after germination, they’re ready for their first nutrient boost—but choosing the right fertilizer makes all the difference. Organic options like compost tea or fish emulsion build soil health gradually, while synthetic fertilizers deliver precise nutrient ratios fast.
Each has trade-offs for seedling growth and fruit production.
The key lies in the NPK ratio (nitrogen, phosphorus, potassium). Seedlings need more nitrogen (first number) for leafy growth, but too much too soon can cause burnt roots. Organic fertilizers release nutrients slowly, while synthetics provide immediate results. Let’s break down the best choices for each stage of growth.
Organic Fertilizers for Tomato Seedlings
Pros
- Gentle on young roots
- Improves soil structure
- Slow-release nutrients
- No chemical burn risk
Cons
- Requires more frequent applications
- Slower nutrient availability
- May attract pests (e.g., worms)
Synthetic Fertilizers for Tomato Seedlings
Pros
- Precise nutrient control
- Fast-acting results
- Long shelf life
- Easy to measure
Cons
- Risk of root burn
- Depletes soil health
- Environmental runoff
For seedlings, I recommend starting with a balanced 10-10-10 fertilizer—organic or synthetic—diluted to half-strength. Organic options like fish emulsion (1-2 tbsp per gallon) or compost tea are my go-to for gentle growth.
Synthetic choices like Miracle-Gro All Purpose (mixed at 1 tbsp per gallon) work well but require careful dilution.
As seedlings develop true leaves (not cotyledons), switch to a 5-10-10 ratio to encourage root and flower development. Organic options like bone meal (for phosphorus) or kelp meal (for potassium) become valuable here. For synthetics, a bloom-boosting 7-9-5 fertilizer signals the plant to focus on fruit production.
Application method matters too. Always water seedlings first to prevent fertilizer burn, then apply nutrients to moist soil (not leaves). For organic fertilizers, I mix them into the top 1-2 inches of soil.
Synthetics can be sprayed on foliage (early morning only) or poured around the base. Consistency is key—feed every 2-3 weeks during active growth.
Watch for signs of nutrient imbalance: yellow leaves mean too much nitrogen, while purple stems signal phosphorus deficiency. Adjust your fertilizer ratio accordingly. By the time your seedlings are 4-6 inches tall**, they’ll be ready for their final growth phase—where bloom-boosting fertilizers take center stage.